Home
User Guides
Developer Onboarding
Developer App Management
Account Information Service (AIS) flow
MTLS - Certificate Addition
Letter Of Guarantee flow
PIS - Payments flow
PIS - Refunds flow
PIS - Request To Pay flow
Core Bank - Reference Bank to simulate Core Banking
Consent Module
Admin Module for Bank administrator users
FAPI Conformance Test Suite
Testing Guides
Standards
Certifications
FAQs
Section A : Using private-key-jwt profile
- Open the openID test suite: https://www.certification.openid.net and login with your google account.
- Create a new test plan by clicking on create a new test plan button on below screen:

- Select below mentioned option on the test plan screen for private-key-jwt profile:
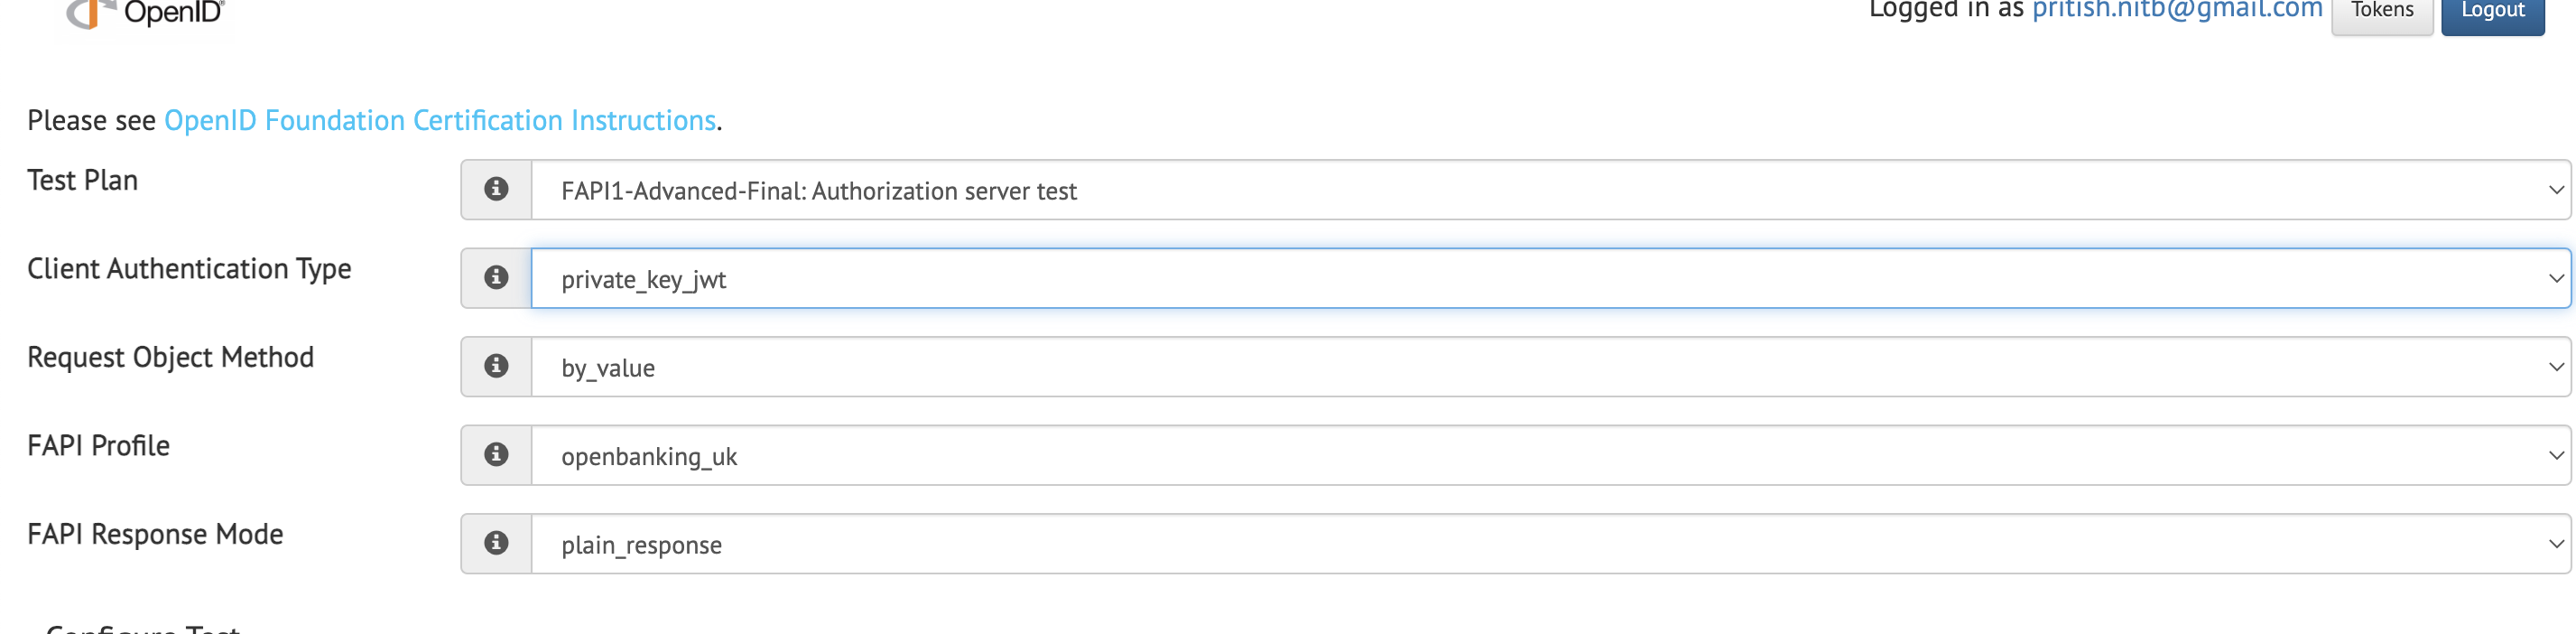
-
Under configuration tab select the json configuration and provide below config. banfico-private-key-jwt-fapi-config.json
-
Click on create test plan button and below screen will open:
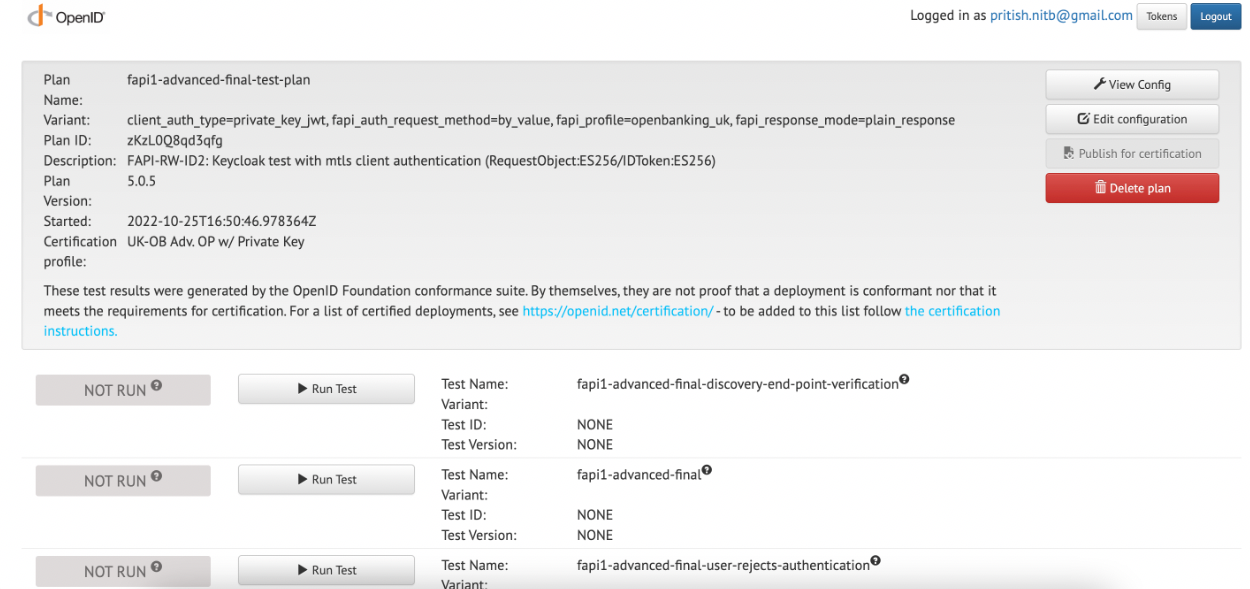
-
User can then run all the test cases one by one.
-
For most of the Test cases, the test status will be moved to
Waiting. At that time, Click theProceed to testbutton.
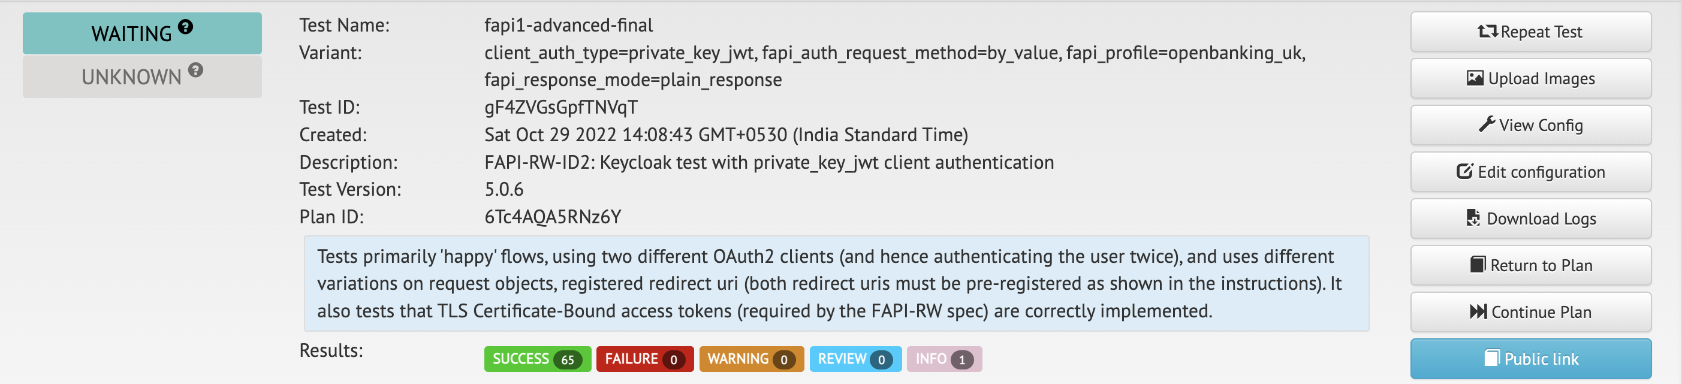
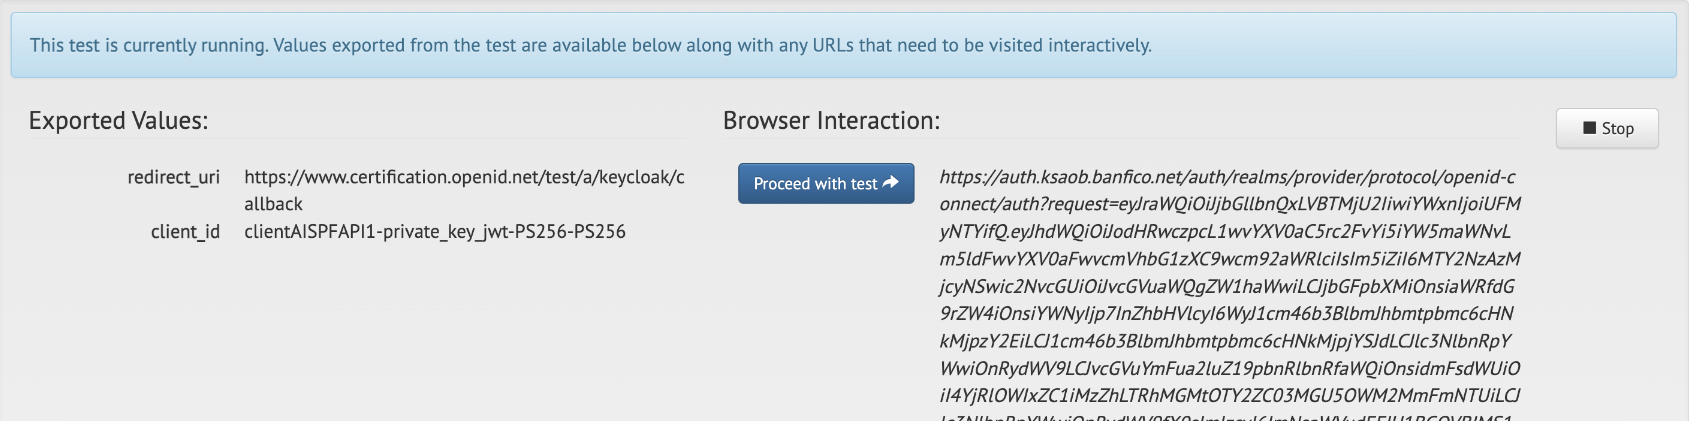
-
Page will be redirected to Consent portal login page. Enter the Bank user credentials and login. Select the Account and Click Confirm.
-
For the
fapi1-advanced-final-user-rejects-authenticationtest scenario,denybutton must be clicked on the Consent approval screen. -
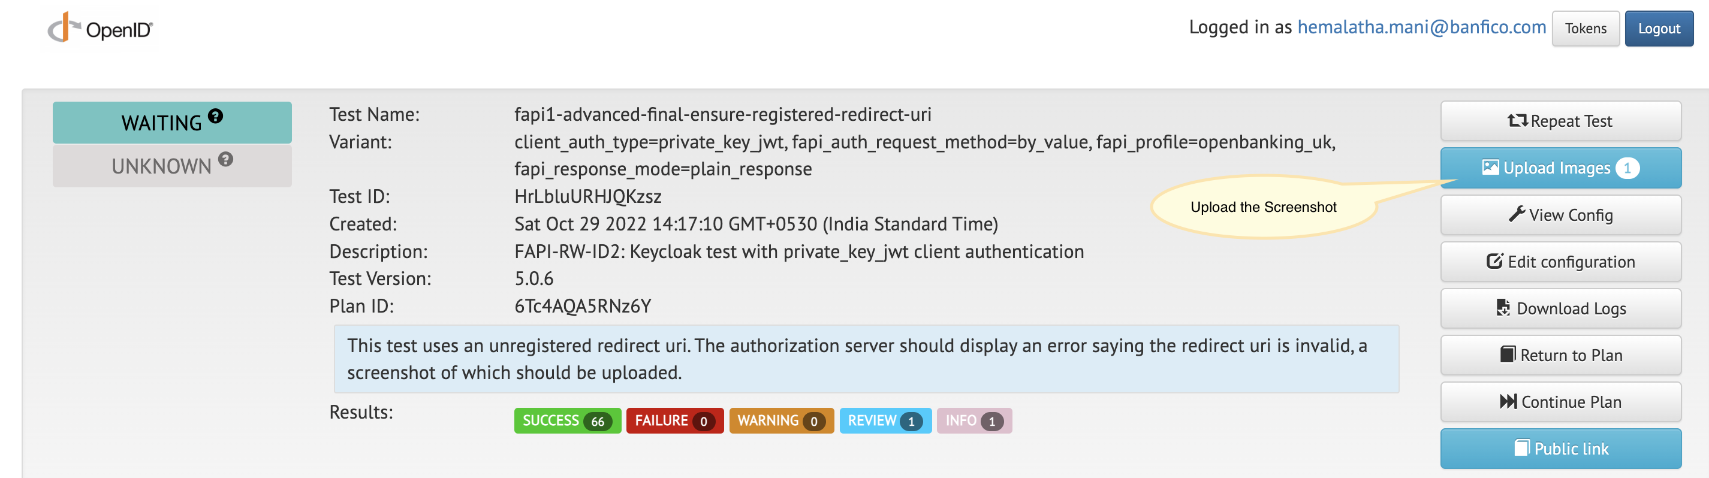
For some of the Negative Test scenarios, the page will be redirected to an error page (Invalid parameter: redirect_uri), on clicking the
Proceed to testbutton. For such negative scenarios, just take a screenshot of the Error page that is displayed and upload it in the corresponding Test case. Select the Image, upload it and ClickReturn to testplan button. Once the Image is uploaded, the Test must be Finished with aReviewStatus.

Section B: Using mtls-auth profile
- Open the openID test suite: https://www.certification.openid.net and login with your google account.
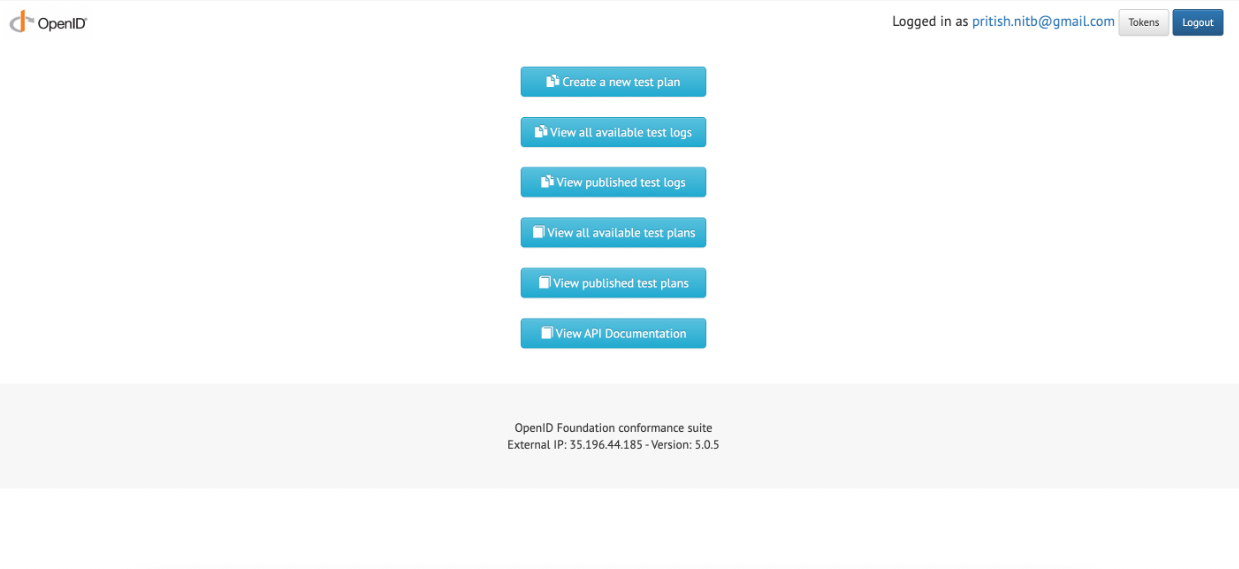
- Create a new test plan by clicking on Create a new test planbutton on the below screen:
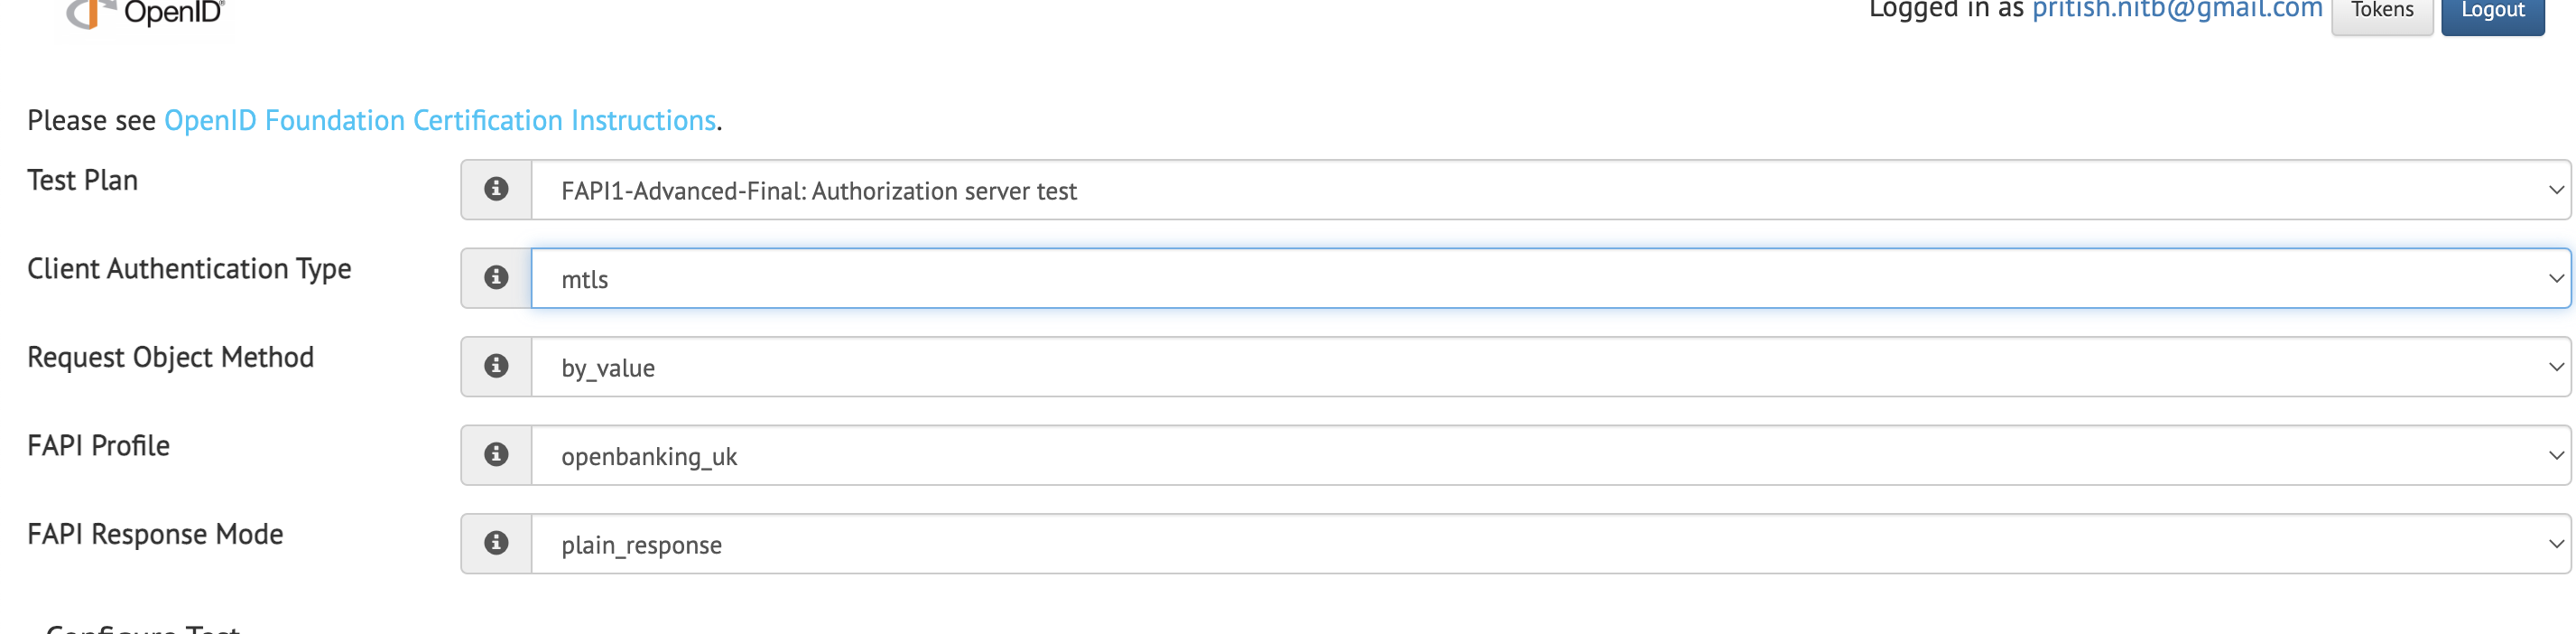
- Select the below mentioned option on the test plan screen for mtls-authprofile:
- Under the configuration tab, select the json configuration and provide the below config.
banfico-MTLS-fapi-config.json . Click oncreate test planbutton and the below screen will open:
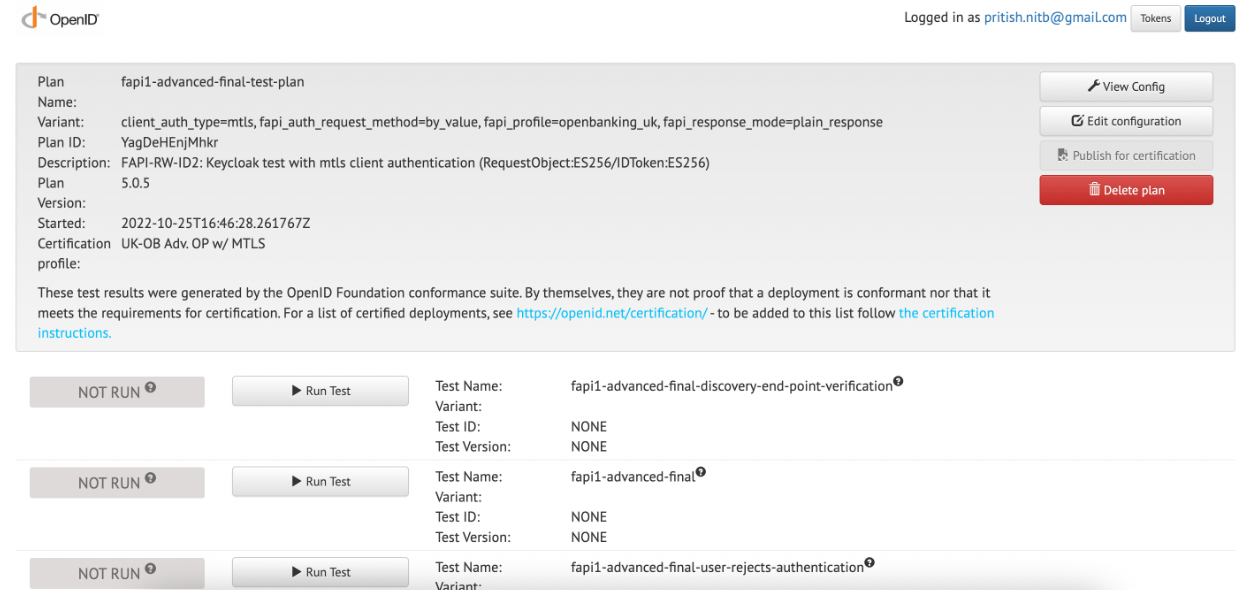
- User can then run all the test cases one by one.